I don't consider myself a selfish seamstress. Not completely, anyway. While most of my sewing is for me, I sometimes sew for or teach sewing to my friends and family. I use more time when sewing for other people or helping them sew. I take it more slow to get everything just right and as perfect as possible. The standard is simply higher. It's kind of silly, but true.
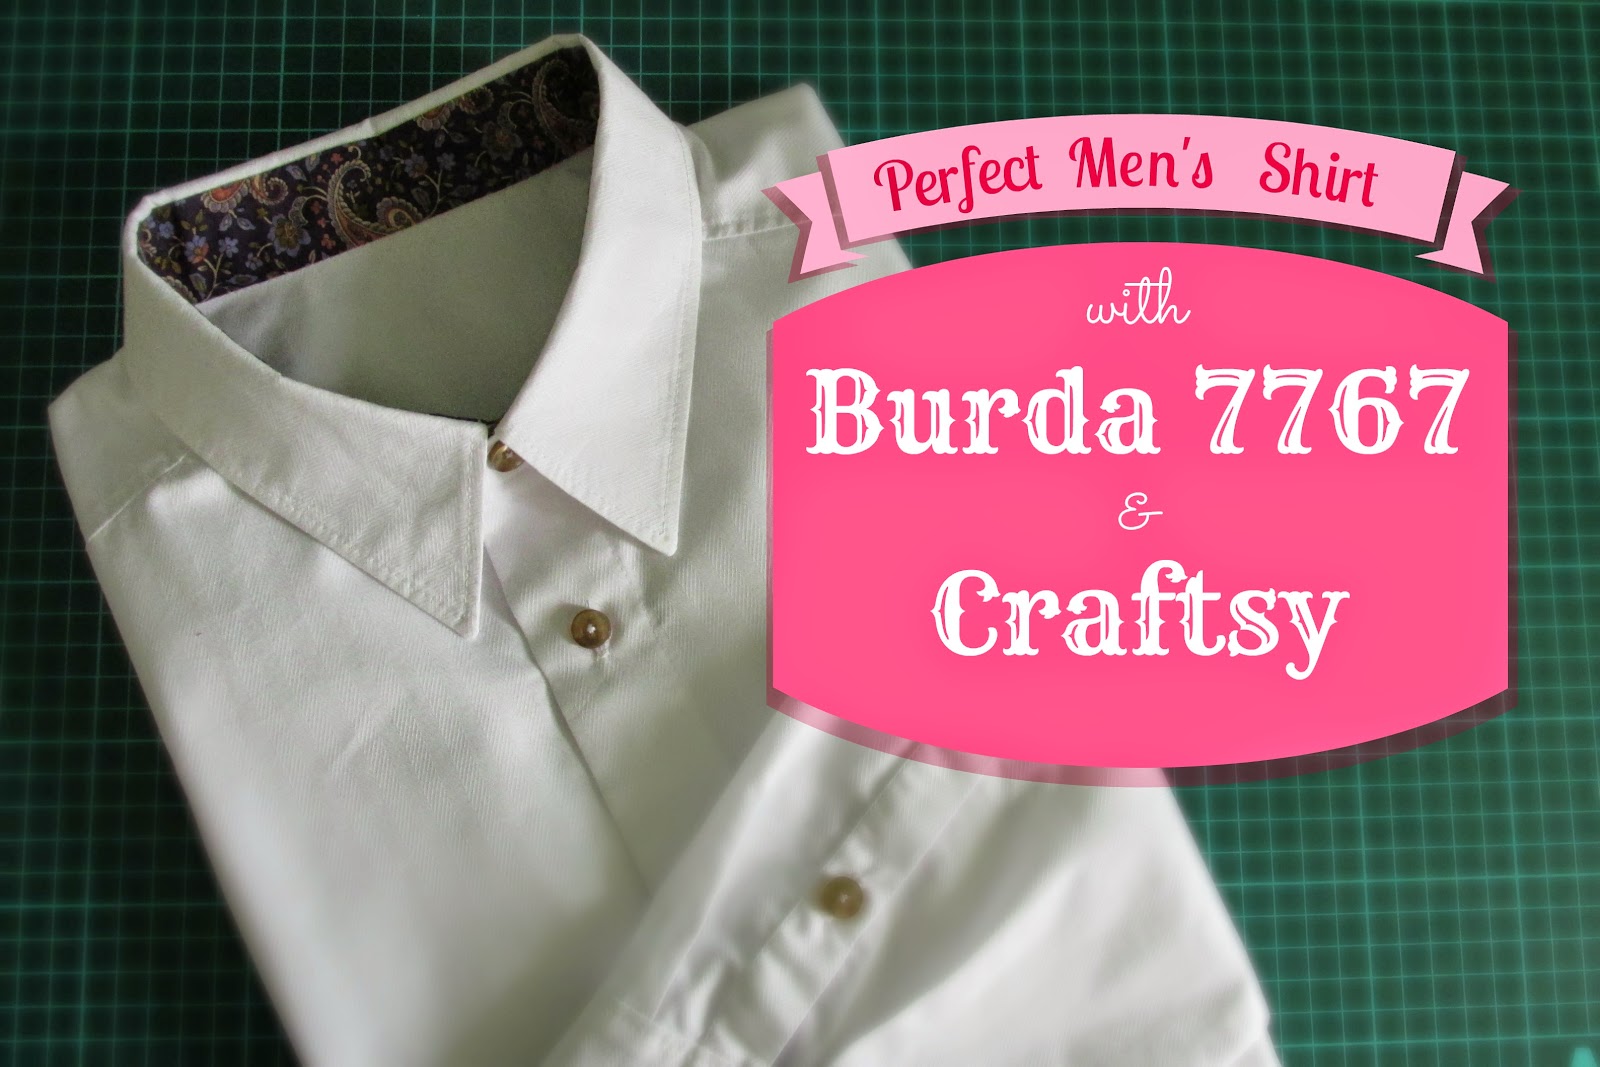
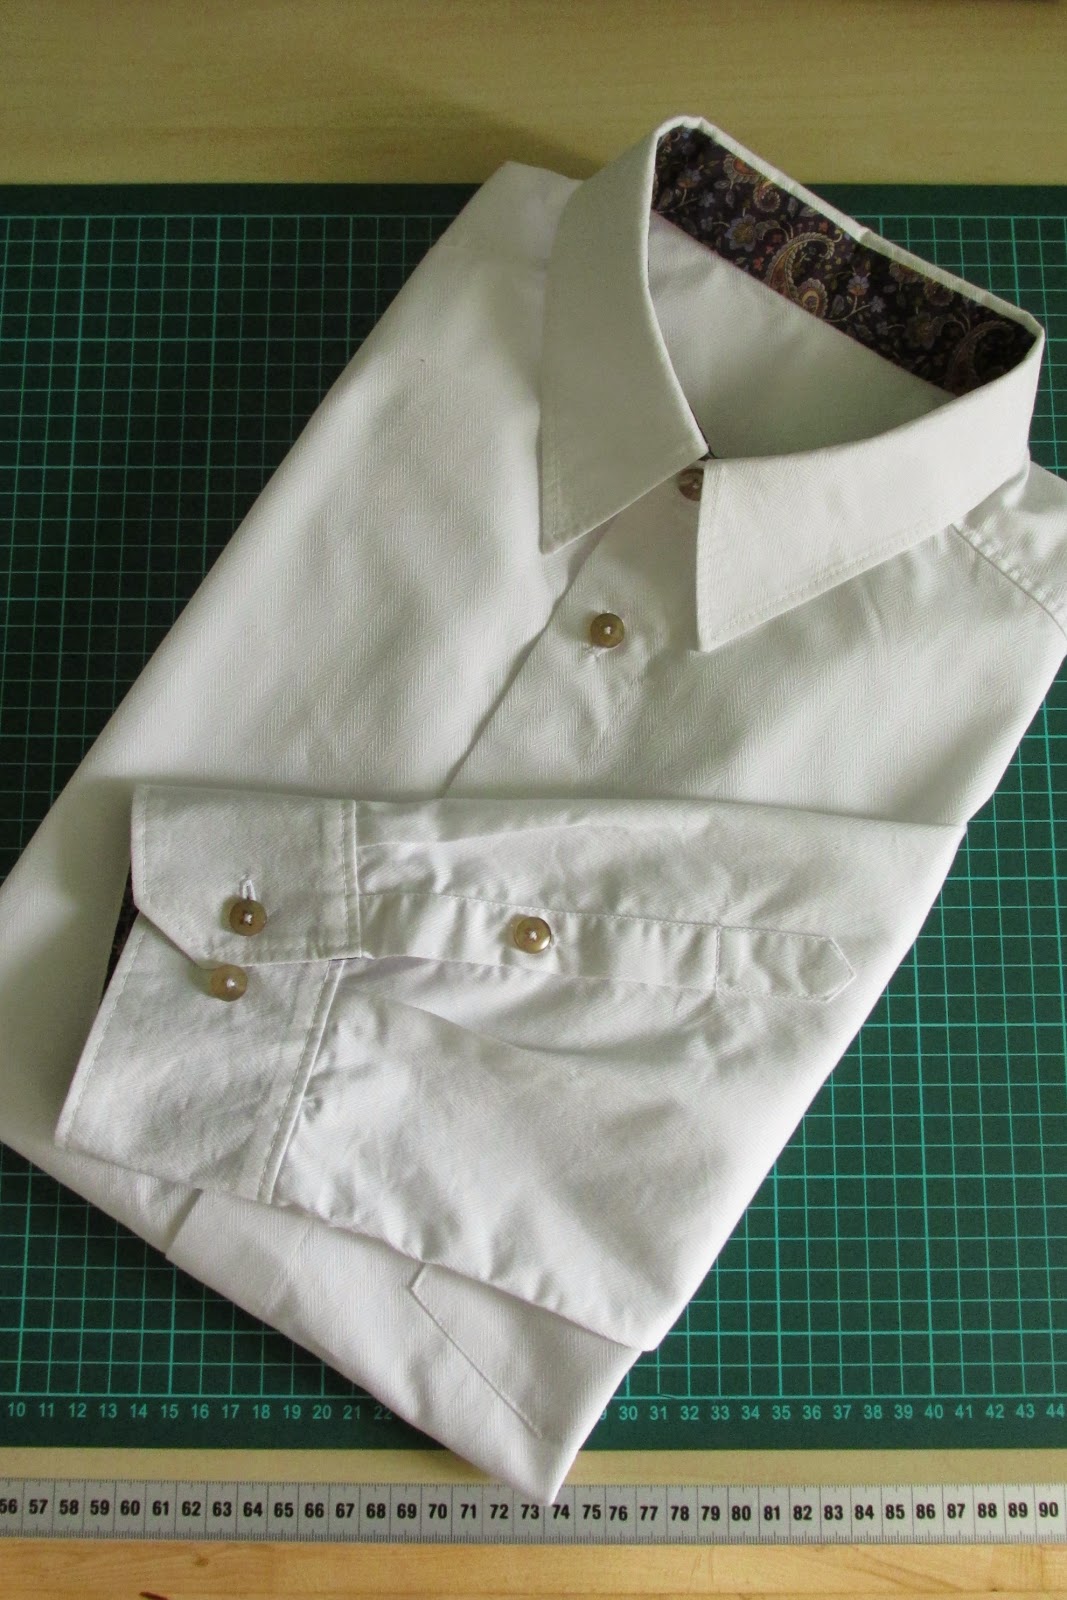
This is one of those time-consuming selfless projects, a white button-up shirt for my boyfriend. He wears a shirt every day to work, and has hinted to me for a long time that a girlfriend-made shirt was high on his wish-list. Problem: I had never made a men's shirt before, yet alone a proper collar. Enter: The Classic Tailored Shirt Class on Craftsy!
I figured the price of the class was roughly the same as one of his cheaper RTW shirts, and that I had nothing to loose thanks to Craftsy's money-back guarantee. My previous experience with craftsy had been good, so I took the plunge!
Let me tell you, I loved this class! It covers the making of an entire shirt from choosing and cutting the fabric to sewing on the very last button. It even has a chapter on fabric, pattern and design variations to use on future shirts. The teacher, Pam Howard, is really great. She is very encouraging and breaks all the hard parts down to make them simple and do-able and adds a little humor along the way. An adventurous beginner could very well tackle a tailored shirt with this class, I think.
My only complaint about the class is that she is making a continuous placket instead of a tower placket, as is normal in RTW. They have, however, included a pattern piece for the tower placket in the course material, and a video tutorial for it is up on her website. I used this tutorial for my shirt, but it is basically the same method.
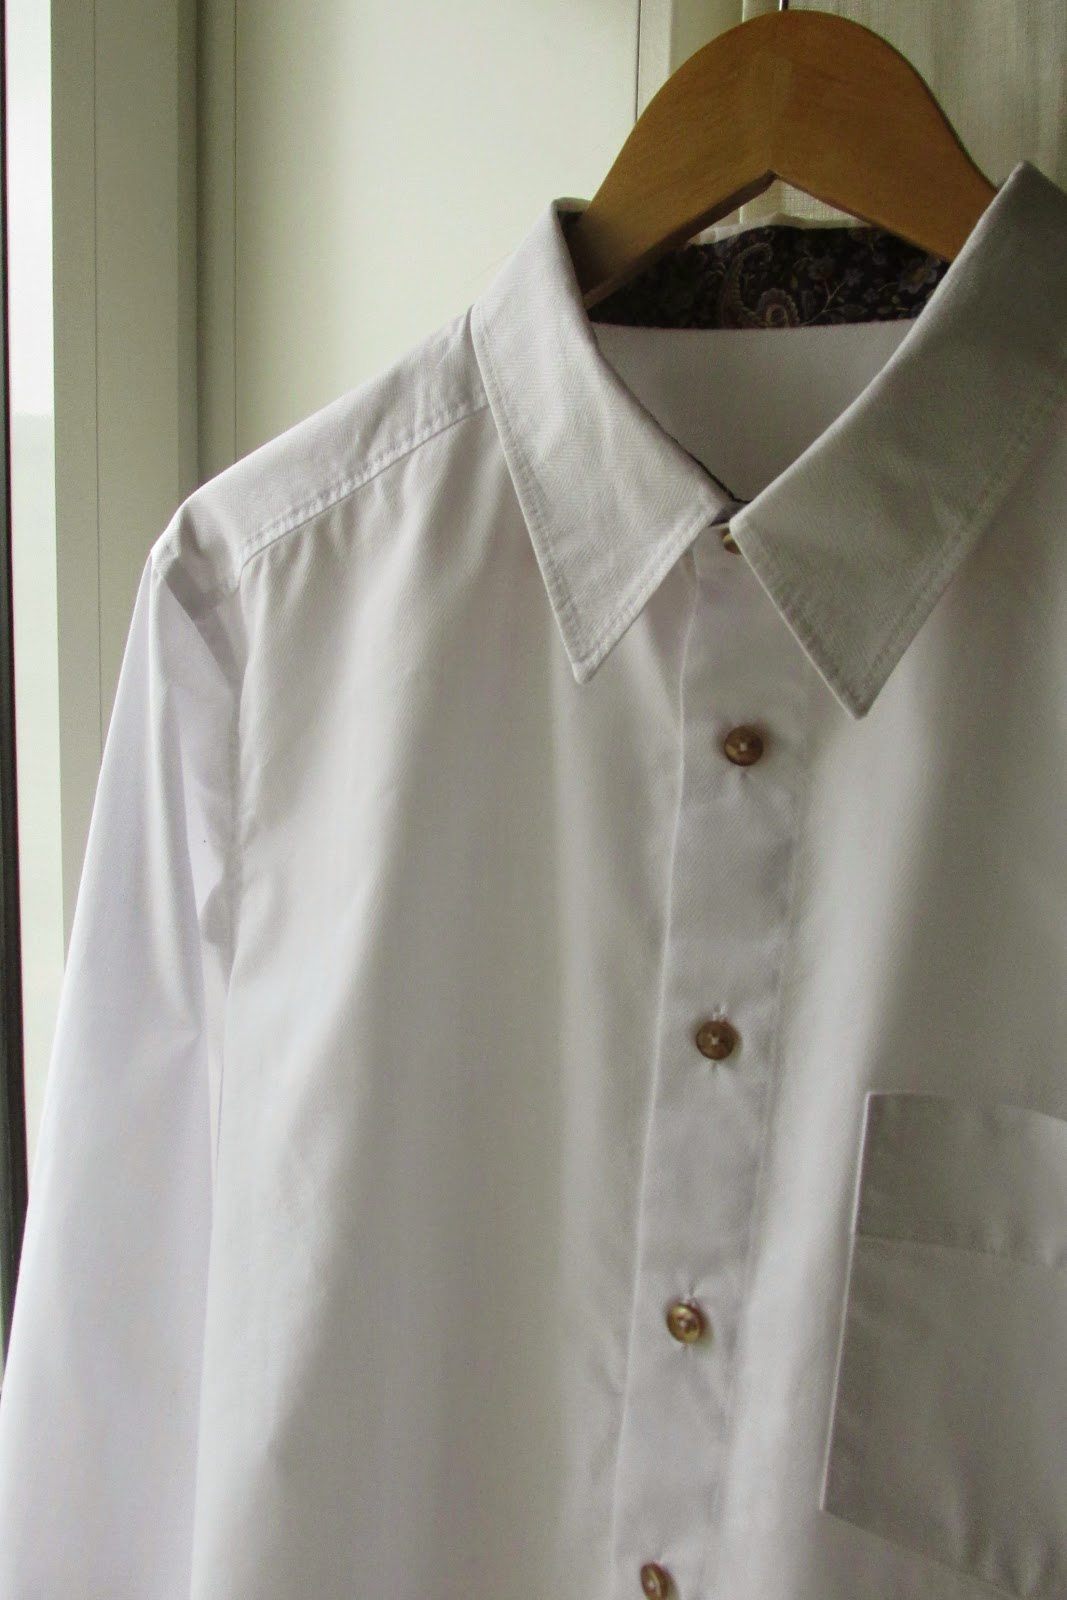
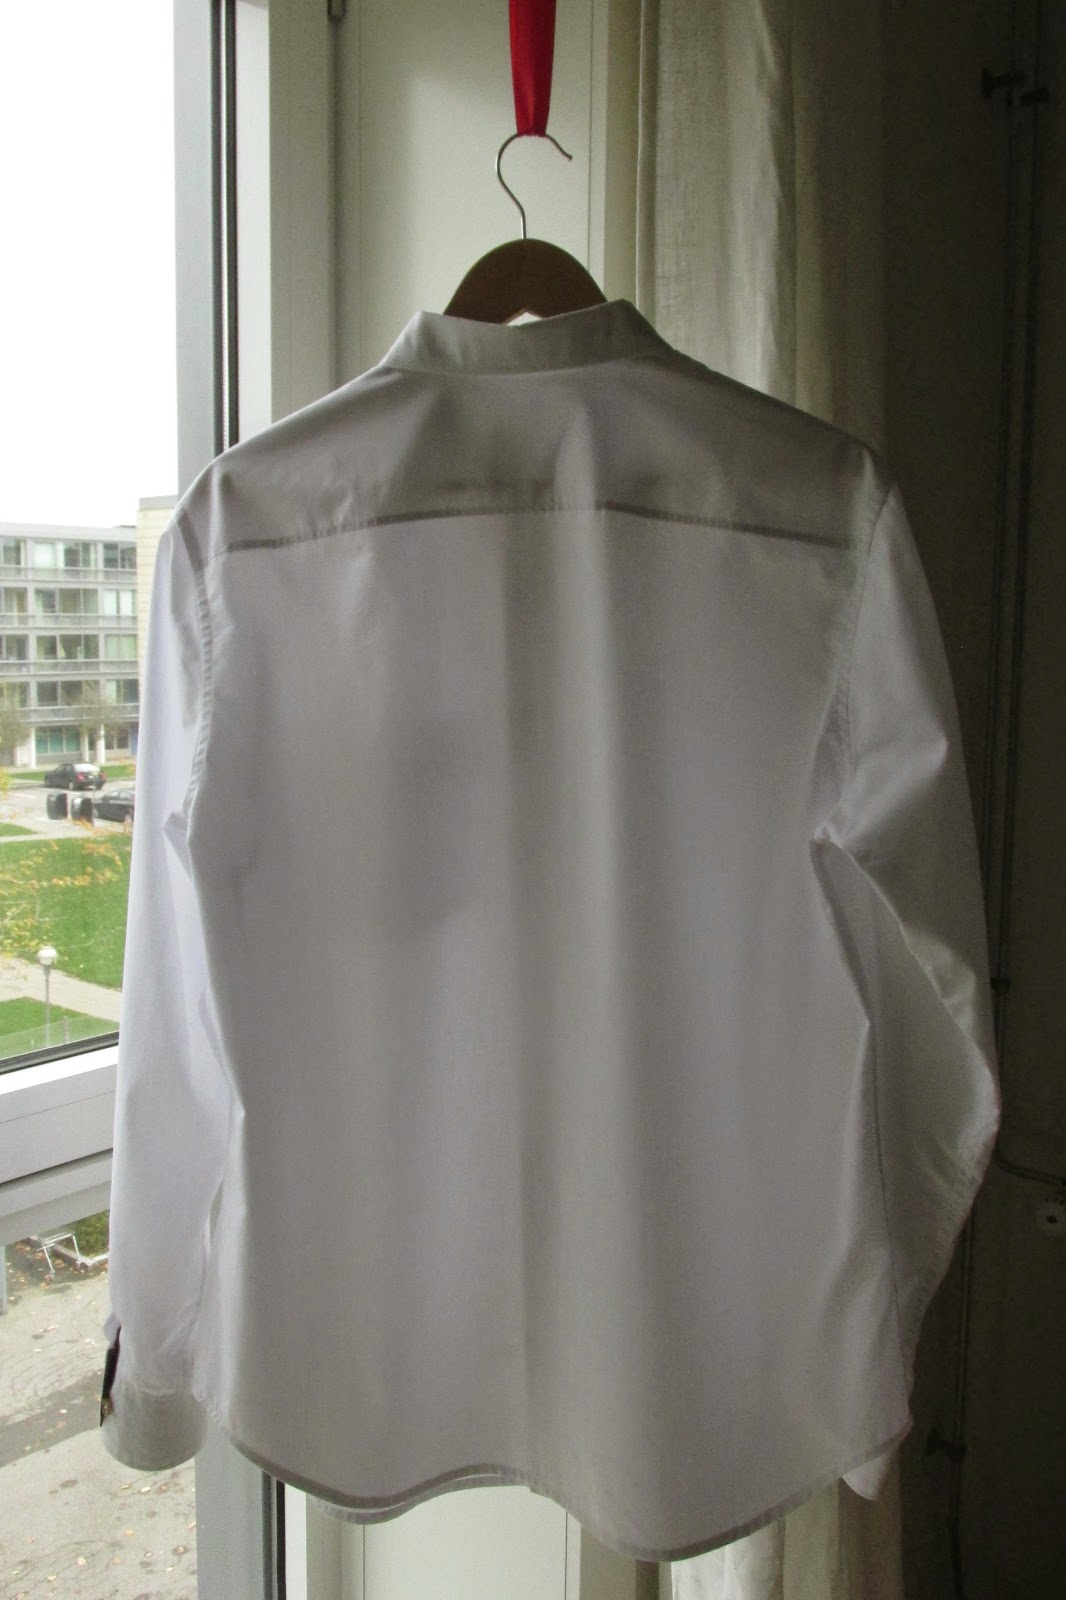
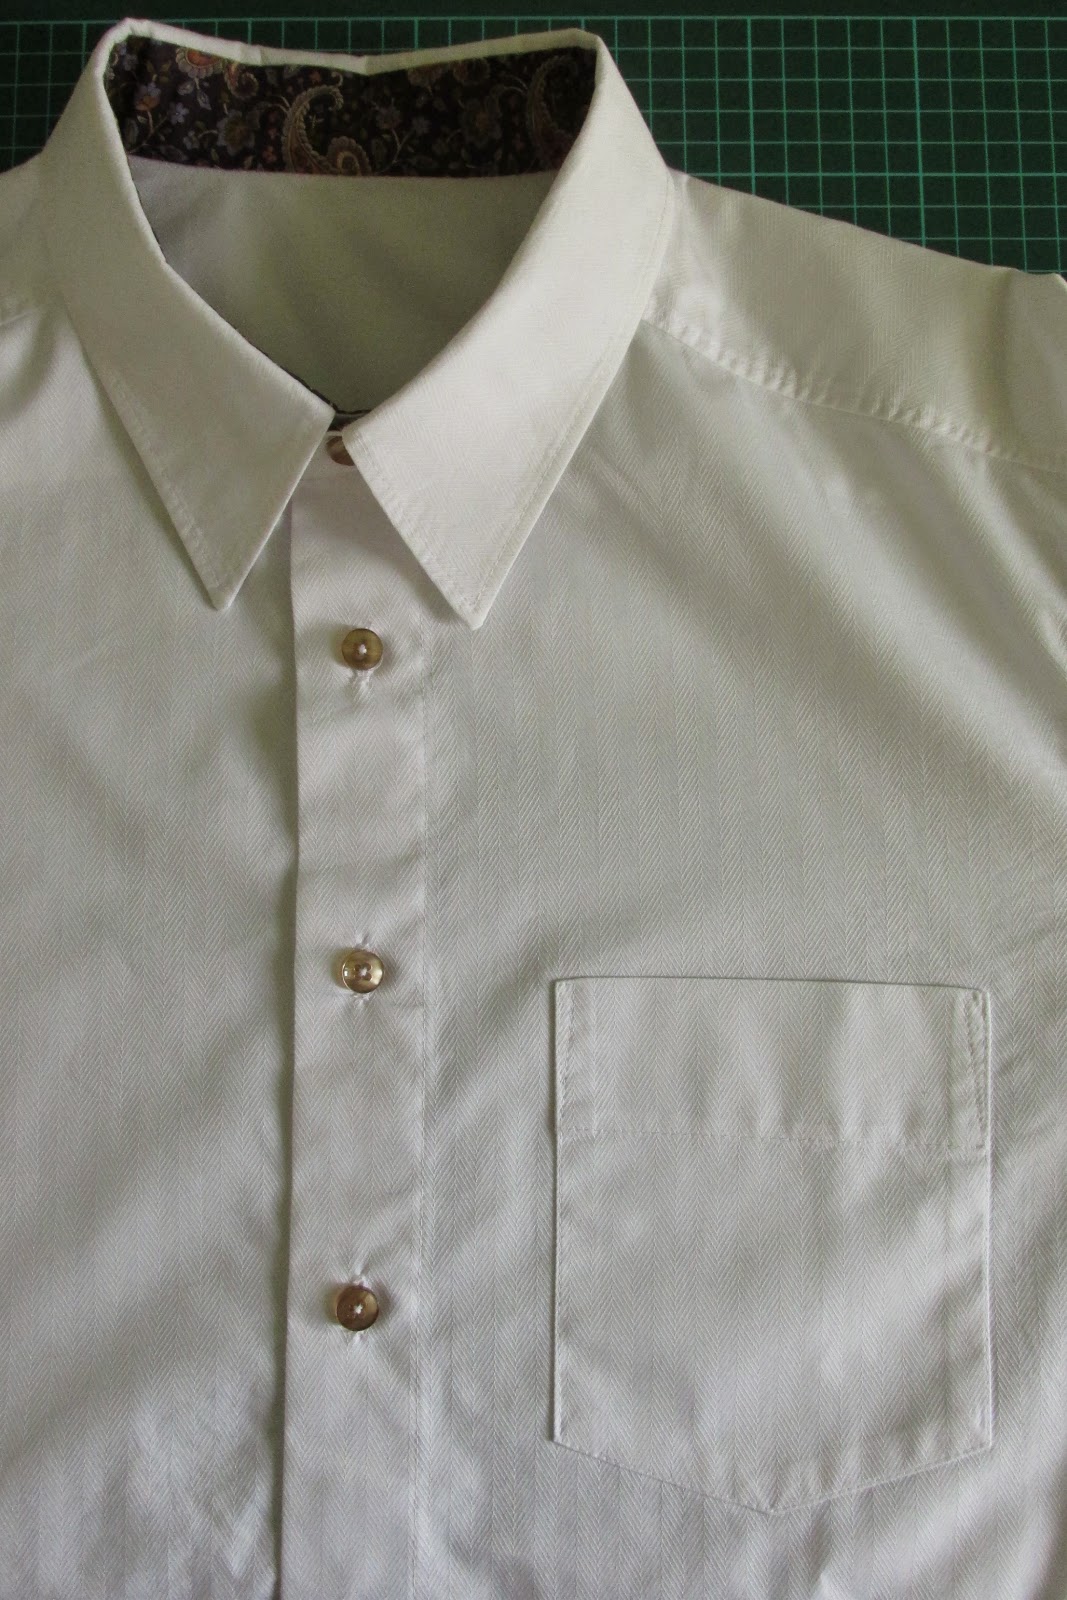
Back to my finished shirt. I used Burda 7767 view B in a size 52 with collar 1 and some fit- and design alterations. This is the second shirt I have made using this pattern, the first one being a wearable muslin (not often worn due to questionable fabric choice). I made a 4 cm FTA (full tummy adjustment) on the front body pieces to account for my boyfriend having more stomach than shoulders, and the fit is spot on. Even the sleeve length is perfect!
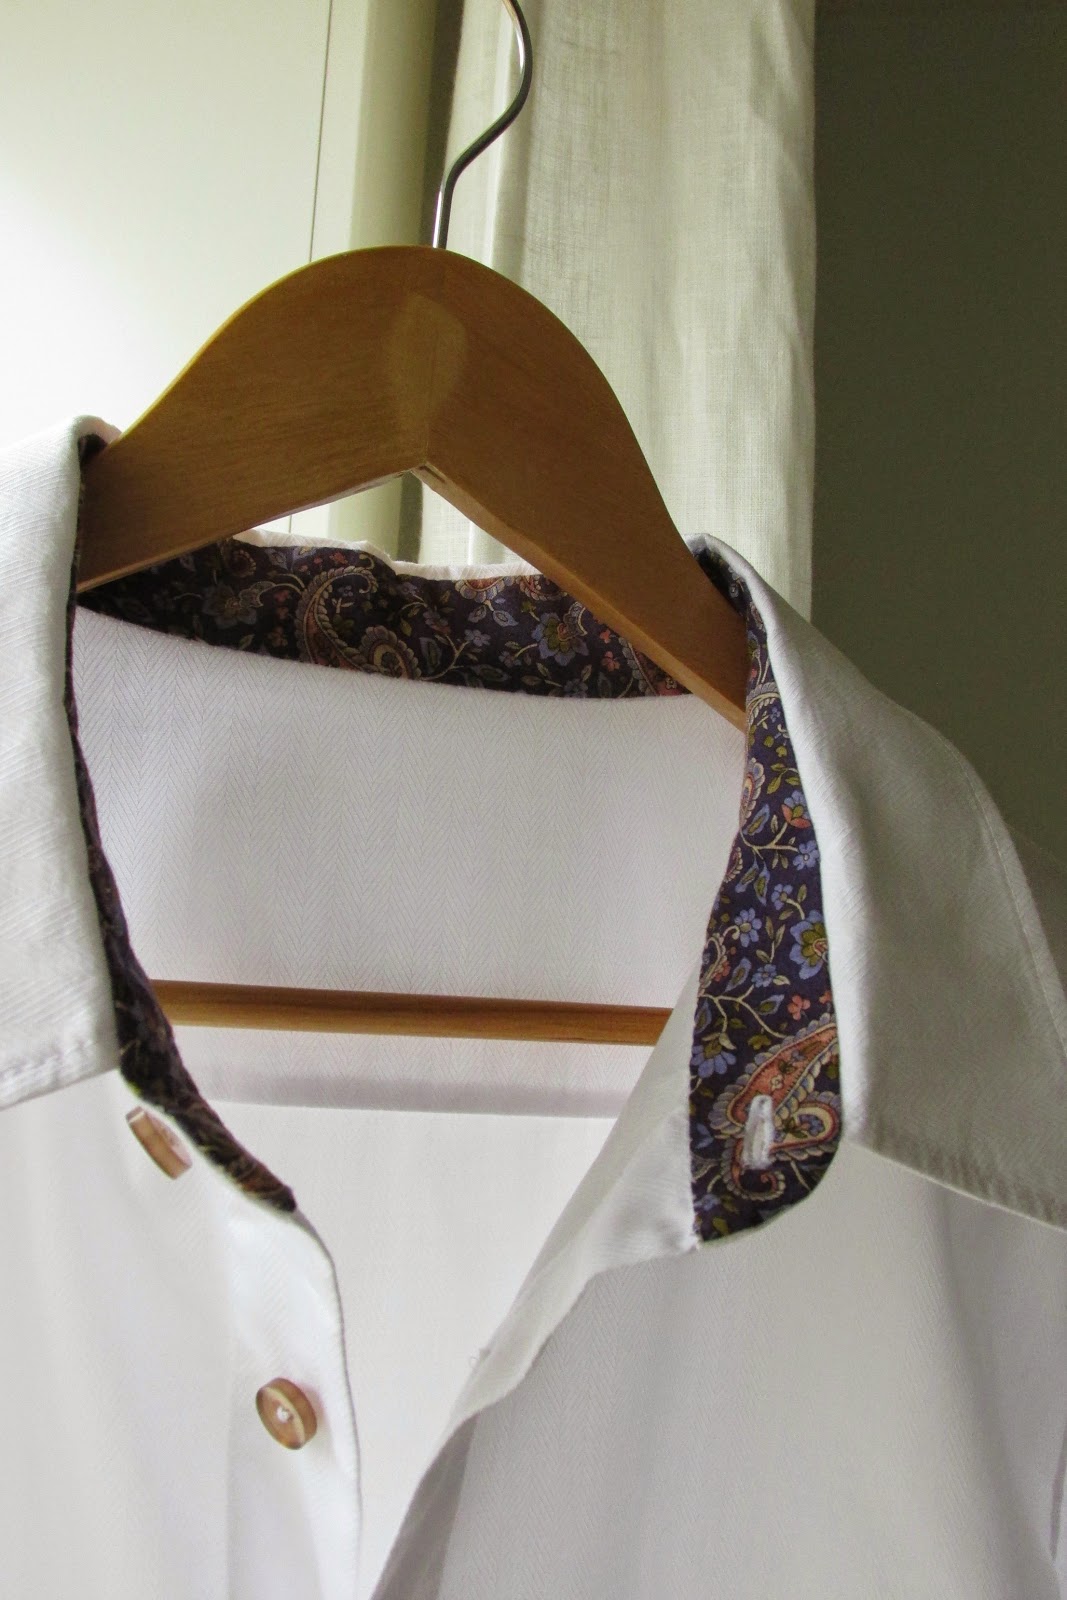
I ditched the pattern instructions and followed the Craftsy class and above mentioned placket tutorial for a really nice finish inside and out. All seams are covered or flat-felled and only the inner collar stand and the inner cuffs are stitched by hand. I really love how Pam distinguish between "home made" and "hand made", and explain why it is nice to slow down to hand sew these parts. And she was right: I really enjoyed the hand sewing.
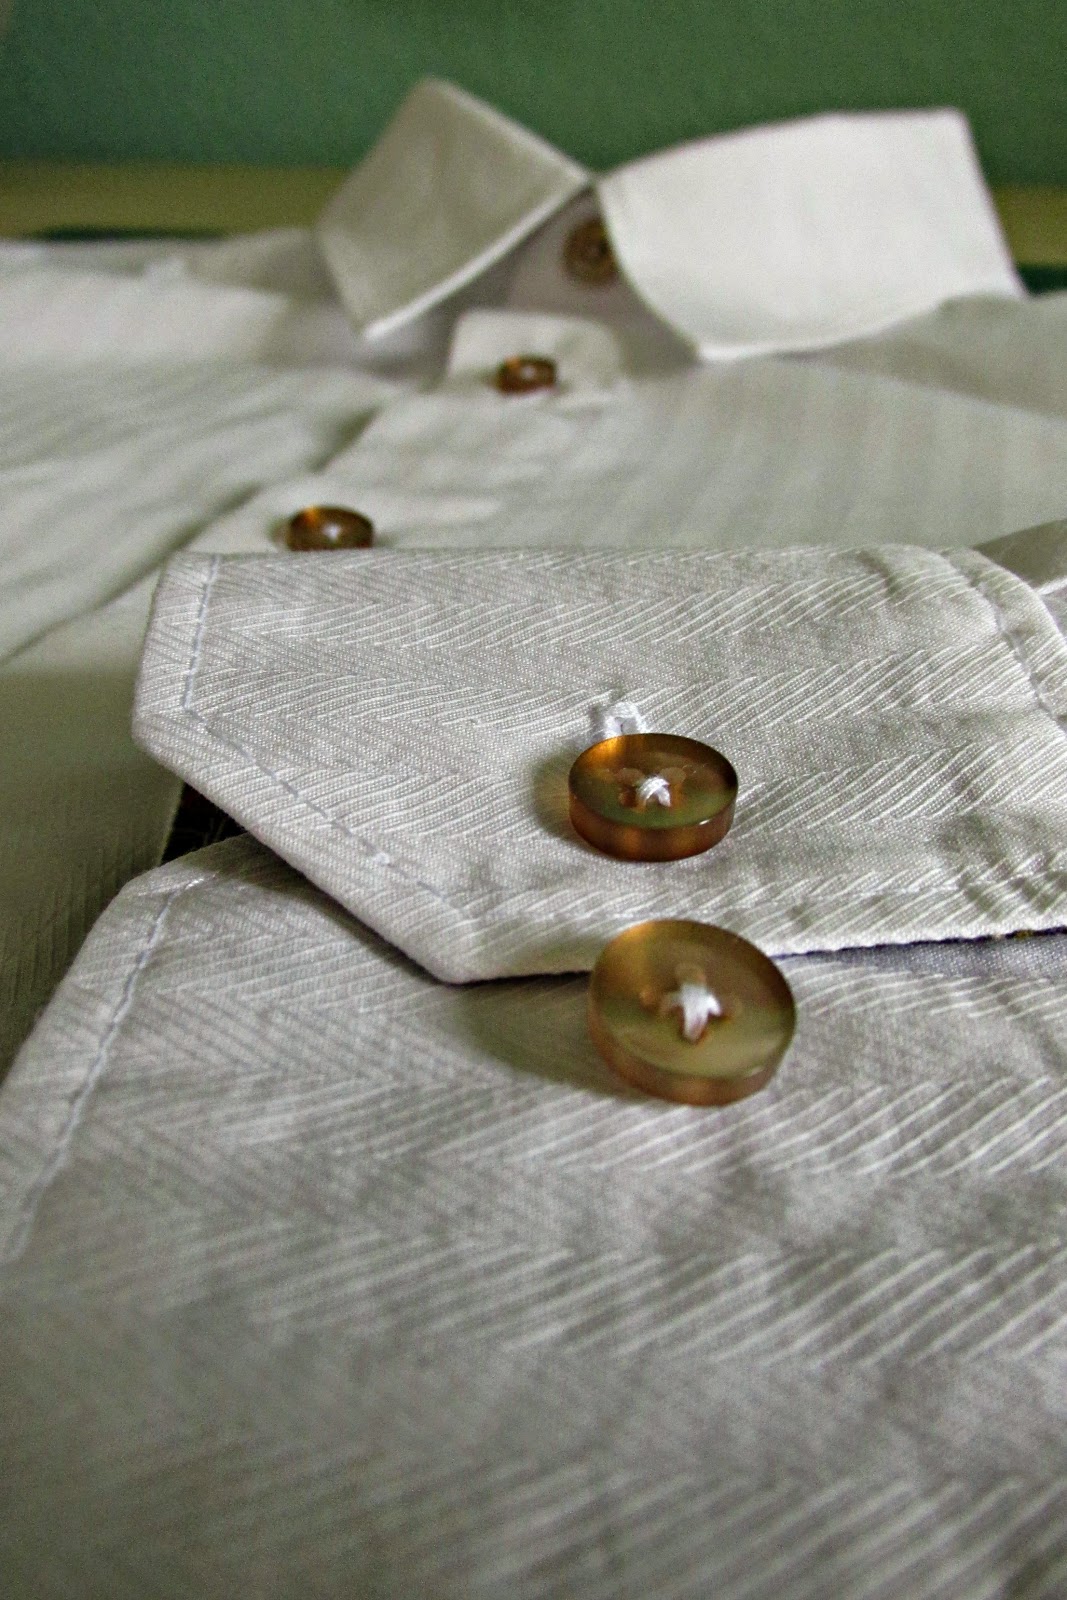
The fabric is a nice quality cotton shirting bought in Videbæk a year ago. It has a gorgeous herringbone texture on the right side of the fabric, making it a little special and less boring to sew. I had 3 meters but only used little more than 1,6 m for this shirt. The contrast is a fat quarter of quilting cotton, also from Videbæk. The buttons are from our trip to Stoffen Spektakel. Both the contrast fabric and the buttons where chosen and bought by my boyfriend.
I made some small design features as per request: angled cuff corners, no top stitching on collar stand, extra buttons on cuff and a different pocket shape. He requested a buttonhole and button on the pocket, but I was so excited about the pocket top-stitching that I forgot it :S.
This shirt has already become a favorite in my boyfriends closet, and he brags about it to everybody he meets. I really love how it all came together without a fuss and in only 3 evenings. It is nice to have a "tried-and-true" pattern for him, a pattern I know will fit, should I ever crave to make him something.
So tell me, are you mostly a selfish or a selfless seamstress?
* Disclaimer: this blog post contains an affiliate link to the reviewed Craftsy course. I get a small compensation if you follow the link and buy anything on their website. This does not affect your shopping experience on Craftsy nor my opinions of the course in any way. I bought this class with my own money, and I really do recommend this course with all my heart. I'm sure you will like it too, if you try it. Should you want a non-affiliate link to the course, it is here *


Wow, what a perfect shirt! Good to know the Craftsy class was worth it. Who knew there could be such intricate design preferences on a shirt (e.g. angled cuffs, no topstitching on collar stand)? but of course there must be! Great job.
ReplyDeleteThank you! Those are not even the funniest preferences I've heard. My father HATES RTW shirts because they always have a horizontal seam on the back between the yoke and back piece...
DeleteThe angled cuffs apparently makes the cuff points digg less into the wrist while sitting at a computer, and my boyfriend hates the topstitching on the collar stand because he is hyper-sensitive to the polyester thread, and the collar stand is the only tight-fitting part of the shirt.
Wow. This is a seriously well made shirt. I've made four shirts now and this is much better than all of them. It's so crisp! Well done. Hats off to you!
ReplyDeleteThank you! I really couldn't have done it without the class. The construction order and finishing technique is so different from the instructions that come with the Burda pattern...
DeleteWow, this shirt is gorgeous. What a lucky guy! I might have to try this Craftsy class if I ever talk my boyfriend into letting me make something for him.
ReplyDeleteA shirt like this would make for a great Christmas gift! I'm sure your boyfriend would be proud to wear something you made him :D
Delete