Showing posts with label big4. Show all posts

Sunday, 15 October 2017

Giga Gingham


Hello, Lovelies!

I'm back with another new dress and more gorgeous pictures from my recent holiday in beautiful, sunny Málaga, Spain.
These pictures were taken in the Jardines de Pedro Loui Alonso, a beautiful rose garden located next to the Town Hall and also in the Parque de la Alameda, just across the street.

This dress is my 2nd version of B6453, the best-seller dress pattern by Gertie for Butterick. While the original design is based mostly on the Pinup Girl "Jenny" dresses, I based this dress on the The Pretty Dress Company "Priscilla" dress in pink gingham, as shown below:


I didn't originally intend to copy the dress quite as literally as I did, but when I saw the perfect large-scale pink gingham fabric at the Stoffmarkt Holland in Flensburg earlier this summer, I simply couldn't resist.

The fabric cost me a whopping 2 euros (2,5 USD/1,75 GBP/15 DKK) per meter, and I got 4 meters to play around with. In the end, I used about 3,5 meters in order to match the gingham and to cut around a small flaw in the fabric.


I swapped the dirndl skirt of the pattern out with the box pleated circle skirt from Gertie's Ultimate Dress Book, as it looks exactly like the skirt on the Priscilla dress. I have used this skirt pattern before, and since both bodice and skirt patterns fit me well, I didn't make alterations before cutting out.

I did fiddle around with the side seam pleats of the skirt to make the 2 parts fit in the end, but it was very easy to do so and it is not too noticeable.


I think I might prefer this skirt shape over the included dirndl, as it has less bulk around the waist and less weight to it. The weight of the tightly gathered dirndl has a tendency to flatten my petticoat out over the course of the day, while this skirt and other circle skirts seems to just float above it, making the skirt more bouncy and flirty.


I also changed the straps from fixed to tied. I had seen a few people in the facebook sew-along group to this with great result and wanted to try it out. I love the dainty look and the ease of adjusting the straps as well as the ease of sewing them.
On my other versions, I've had to sew the neckline in 3-4 sections because the straps were too short to allow for smooth sewing around the armholes.

I finished the ends of the straps with little knots.


The dress is unlined, with a simple facing around the neckline in white cotton batiste, as the gingham would have shown through. I used some leftover interfacing from my grandmothers' stash, but it turned out a little bit stiffer than my normal interfacing.

As with most of my tight-fitting dresses, I interlined the bodice with more white cotton batiste to add a bit of structure and opacity, while enhancing the white color of the print. I did this by hand in my usual way, as illustrated below:

1. cut pattern pieces in both fashion fabric and interlining fabric. 2. lay wrong sides together 3. pin together, making sure to pin from the middle out to create a bit of tension. 4. baste by hand 1-2 mm inside the seam allowance

The finished dress feels very "me", and I love wearing it paired with this white parasol I got for my birthday from a few friends.

Unfortunately, it is not a very practical dress for the Danish autumn/winter. As my holiday is now over, and autumn has come to Denmark for good, I am a bit sad to pack this dress away. Let's hope for a mild winter and an early spring, so we can all wear summer dresses again :)

Yours,
Angelica


Friday, 6 October 2017

Paradise Roses

Greetings from Paradise, aka Málaga, Spain!


I'm currently here on holiday with my boyfriend and took the opportunity to snap a few pictures of some recent, summery makes, while out and about in the city.
These pictures were taken in the Parque de la Alameda, a 33 hectar park, filled with flowers and sculptures, located between the promenade, the inner city and the castle.

This is my 4th version of the super popular B6453, a Gertie for Butterick pattern heavily inspired by the Pinup Girl "Jenny" and/or The Pretty Dress Company "Priscilla" dresses. While being my 4th version of this pattern, it is my first non-hack, as the rest has different skirts and/or neckline variations. They will come to the blog in time, so keep tuned in to see those.


The fabric is Liberty of London cotton poplin in the gorgeous "Carline" print in the pink on cream colorway. I got 3 meters of it as part of my birthday gift from my boyfriend and I am very happy to have sewn it up this fast (only took me 4 months, lol). I still have about half a meter left over, and I might turn that into an accessory of some kind, but I guess only time will tell.

If you have ever had the opportunity to work with Liberty of London fabric, you'll already know what a pleasure it is to work with. It is thin and crisp, very opaque and insanely soft to the touch. It behaves well under the machine as well as both scissors and the iron.


I did a few minor adjustments to the pattern. First, I made fixed straps out of personal preference. I also cut the skirt on the lengthwise grain as opposed to the crosswise grain as the pattern says. I did this by cutting 2 panels of the entire fabric width and 1 panel half the width. The smaller panel is at mid front with the side seams at the side front. The skirt has the same hem circumference as the original.


I made a toile before sewing the first dress, and took 2 tiny wedges out of the front armscye and the underbust seam on the size 10 bodice. No other fit adjustments were made.

From a bit more wear, I think the bodice could be shortened about a cm or so, with the straps being lengthened by the same amount. In my fitting, I must have shortened the straps a bit too much to compensate for the slightly too long bodice, and as a result, the princess seams sits just a bit too high and doesn't lay as nice over my bust as it could have.

It is only nitpicking, tough, and nothing as far as to stop me from wearing the dress.


I interlined the bodice in a soft, brushed cotton. The bodice isn't fully lined, and the interlining adds the opacity and comfort of the missing lining, while supporting the bodice fabric, giving it a bit of extra structure. The interfacing is an extra fancy lightweight woven iron-on interfacing stolen borrowed from my mothers stash. Thanks, mom!


I absolutely LOVE the finished dress, and have already worn it for a few occasions. For now, I'll enjoy swanning around in it here in warm and sunny Paradise, but I have a RTW cardigan in the exact green color of the print to help me wear it year-round in not-quite-as-sunny Denmark.

Yours,
Angelica


Monday, 18 January 2016

Slow Sewing

The act of sewing is something I do for me, regardless of who I sew for. It is my happy place, my recharging station and my creative outlet all in one, and I love it. Sometimes I just want to slow down and enjoy a project as it is coming together.

This was one of those projects.


This is M6696, the #1 sewing blogger pattern of 2015. It's a classic and cute shirtdress with both vintage- and mens-wear inspired details and variations, perfect for the intermediate or advanced sewist. 

It may not look that special from afar, but this dress is full of little hand-stitched details.


The most striking feature is perhaps the yoke, being covered in navy sashiko-style embroidery. I first saw this kind of embroidery on Purl Soho, and liked the idea of the simple lines of stitches creating a much more complex pattern. I drew the pattern myself based on the "hana bishi" design and transferred it to my fabric with a transfer pencil. I found the stitching very calming and meditative - just what I needed.


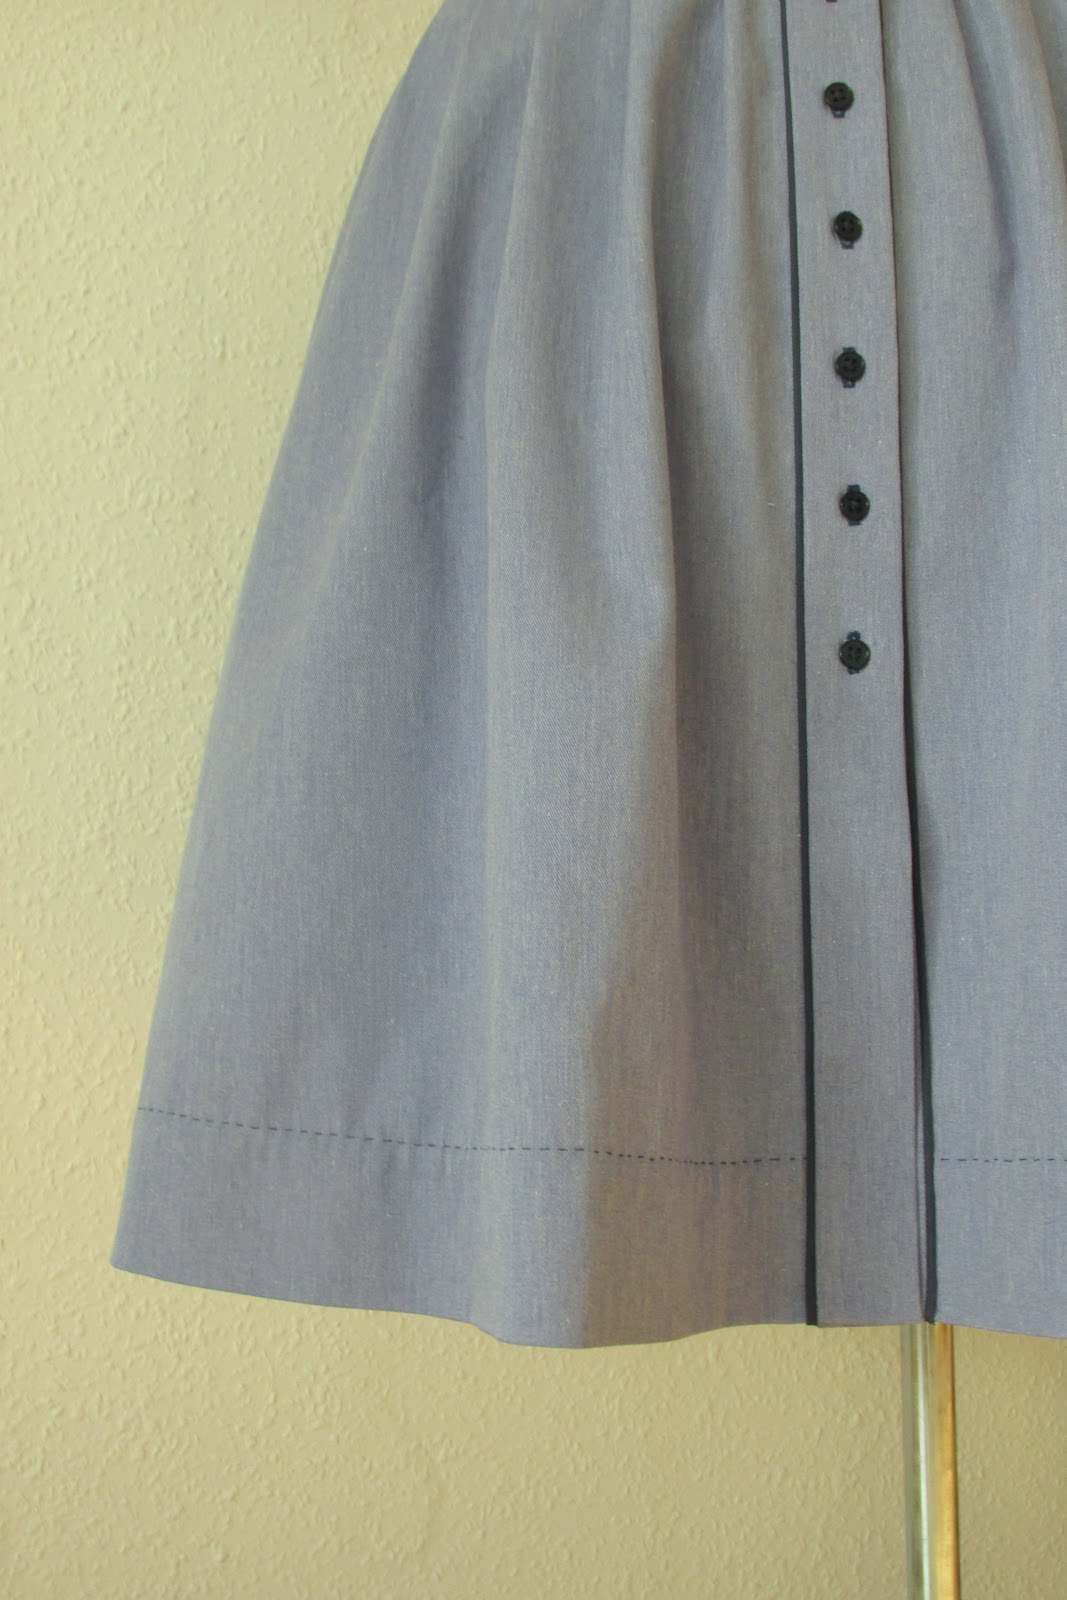
All topstitching is also done by hand with a running stitch to mimic the embroidery. I used a contrasting navy broadcloth to make the piping, bias tape and inner facings for the yoke, collar stands and waistband.


The main fabric is a cotton chambray from my stash, bought 2 years ago at Stoffmarkt Holland as 2 coupons of 1,5 m each. I used one up entirely and a small corner of the second. I think one piece of 1,7 m had been enough for the whole dress. The buttons are from City Stoffer here in Aarhus.


This was not my first time making this pattern. Last summer I had a week long sewcation with my mother and had her help me with the fitting before I made a full, wearable muslin. My measurements put me between size 14 and 16, but based on the flat pattern I made the muslin a size 10 bust with 12 waist/hip. For this version, I took the waist in making it more like a straight size 10.

My only other fit alterations was to remove 3 inches of gathering from center back, rounding the vertical bust dart a smidge and to take a 1 cm wedge out of the bottom corners of the yoke to fit my naturally protruding shoulder blades. In fact, the gathering is not very blousy at all when worn because it sinks into the vale between my shoulder blades. Genetics can be a fun sometimes.


I used the "burrito" method to finish the inside yoke and this tutorial for the collar. The side seams are the only visible seams on the inside, and they are finished on my overlocker.

I really love the finished dress, and more importantly, enjoyed every minute of making it.