
This was not my first choice of project for this months "foundations" challenge, but 3 other projects, all corsets, had to be postponed due to lack of time and materials.
The 18th century stays might get done for next months "blue" challenge, the busk for my victorian corset has not yet arrived in the mail and I simply didn't have time to make regency stays as I had already wasted most of January making muslins for the other 2 corsets.
Luckily, I also needed a new chemise to kick-start my regency wardrobe :D
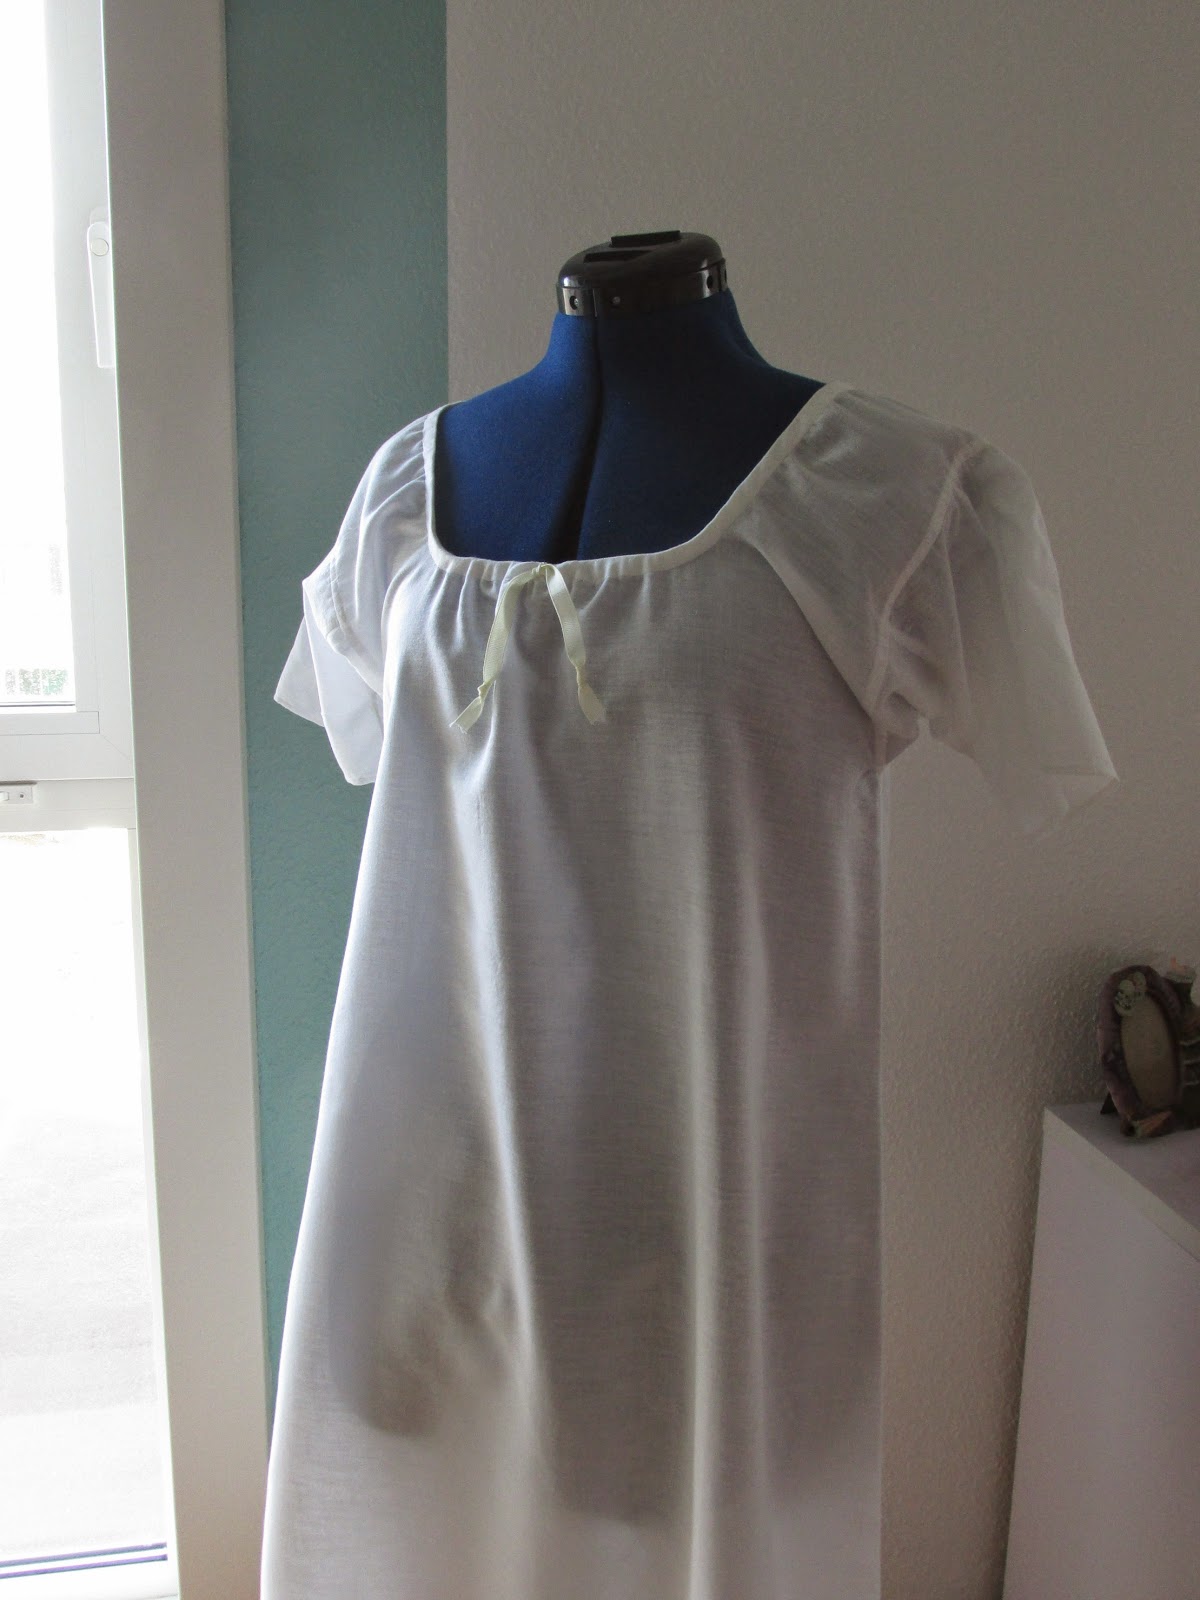
A chemise is the inner-most layer of clothes. It keeps sweat, body oils and dirt away from the non-washable stays/corset and more precious outer dresses and gowns. When making costumes from the skin out, it is the first garment to make and fit other clothes over, making it the "foundation" on which every other garment is made ;)

This chemise is made to go under regency stays and dresses, but it is an almost timeless shape that can be used for anything between Elizabethan and mid-19th century without problems.
The fabric is an old cotton Ikea bedsheet that I found in my fabric stash. It is the perfect fabric for chemises: soft, lightweight, tightly woven, breathable and slightly sheer. It has already been washed and tumble dried many times before, so it is easy to wash after events.
 |
| Seam at the back due to the period cutting. |
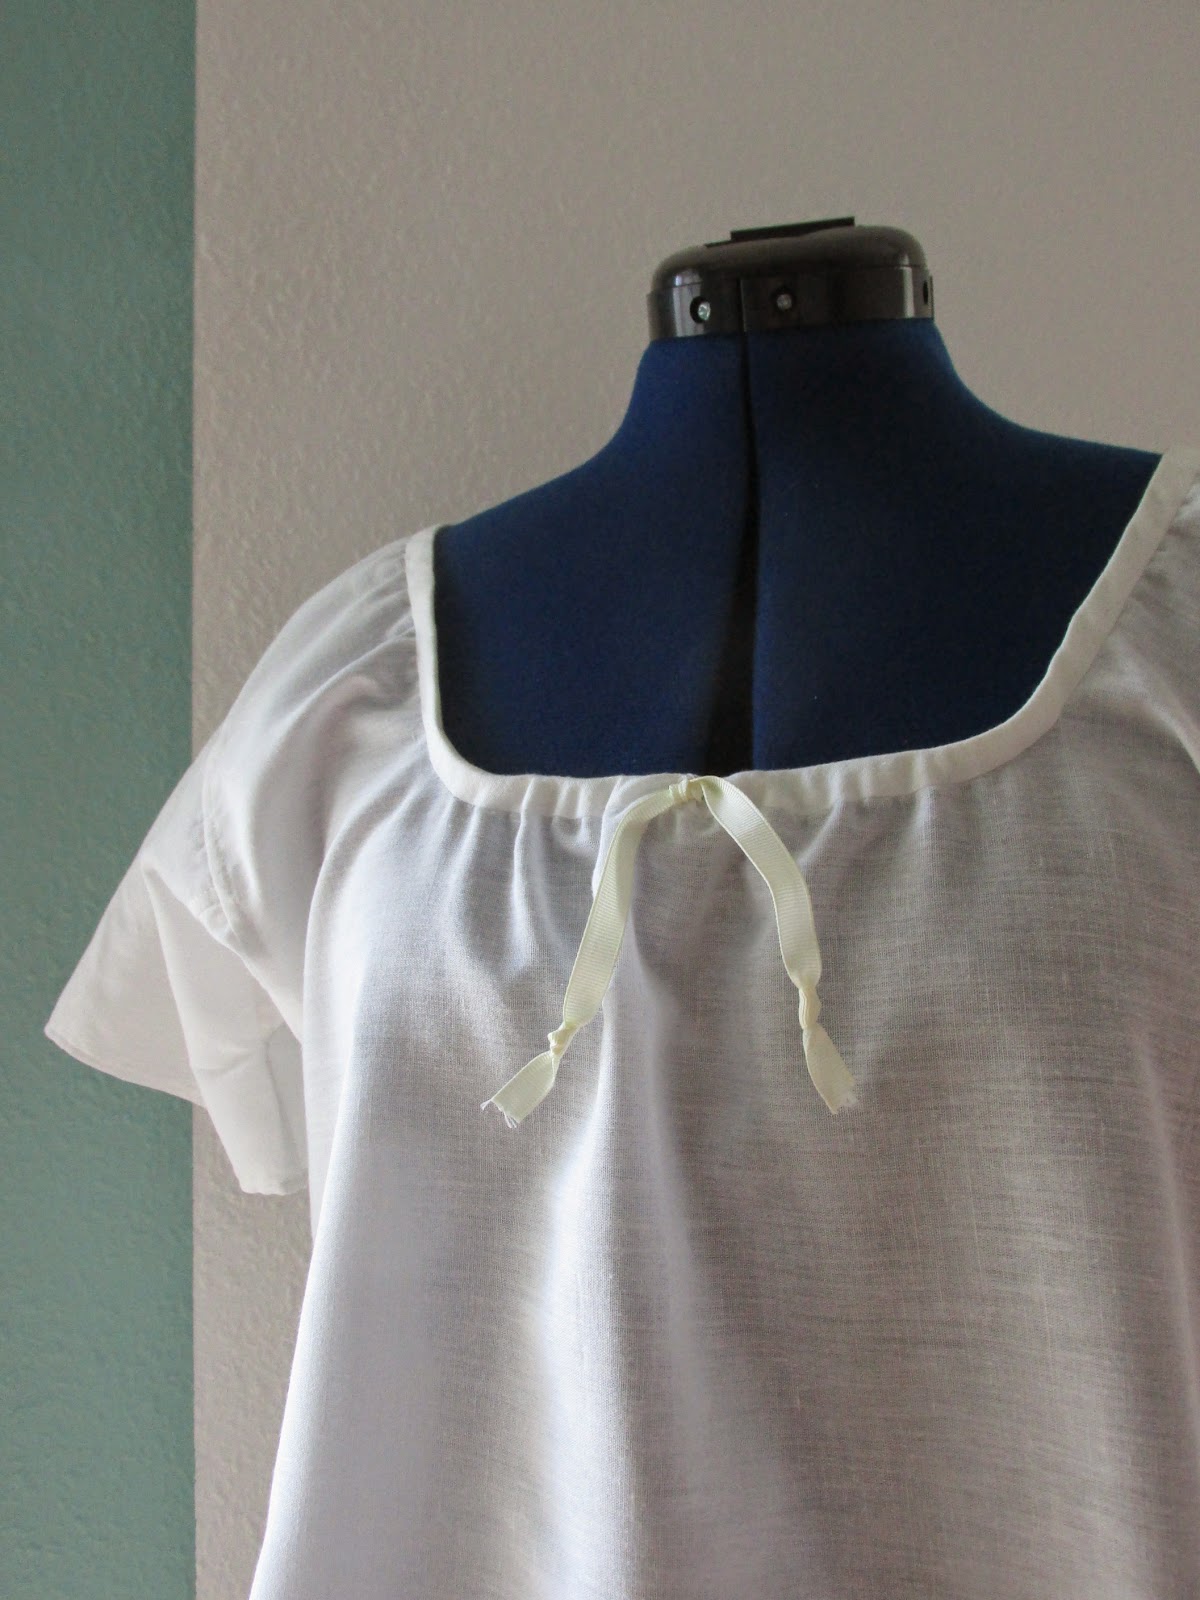
For the pattern, I used this lovely tutorial, in size C but used the shoulder measurements between the B and C sizes, as my chest is 36 inches. I used the "period cutting layout" on my wider-than-normal bedsheet fabric, and lowered the front neckline 2 cm after the first "fitting".
I made my own self-fabric bias tape for the neckline. I put a narrow, off-white grosgrain ribbon in the neckline drawstring, but I might replace it when I find something more suitable.
The fit is a little big on me, but otherwise fine. Next time I might just make the smaller size (B) and make the sleeves a bit narrower and perhaps without the gathering.
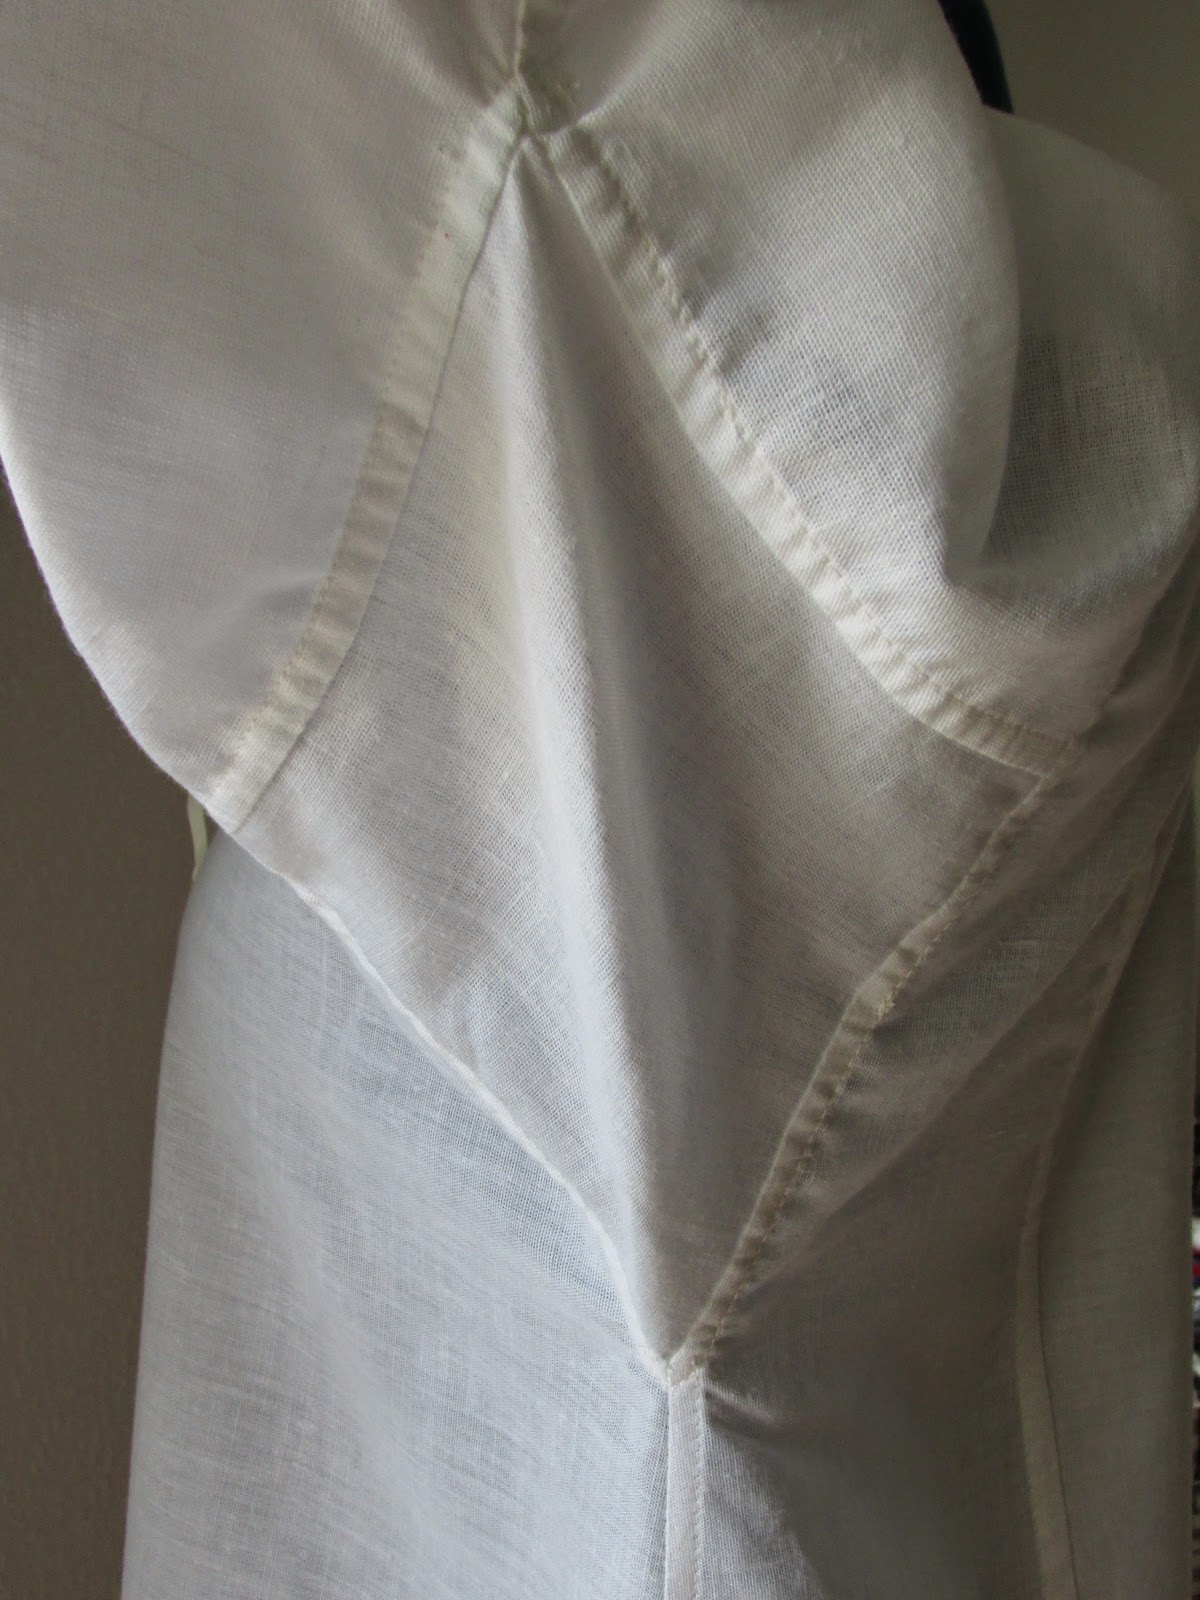 |
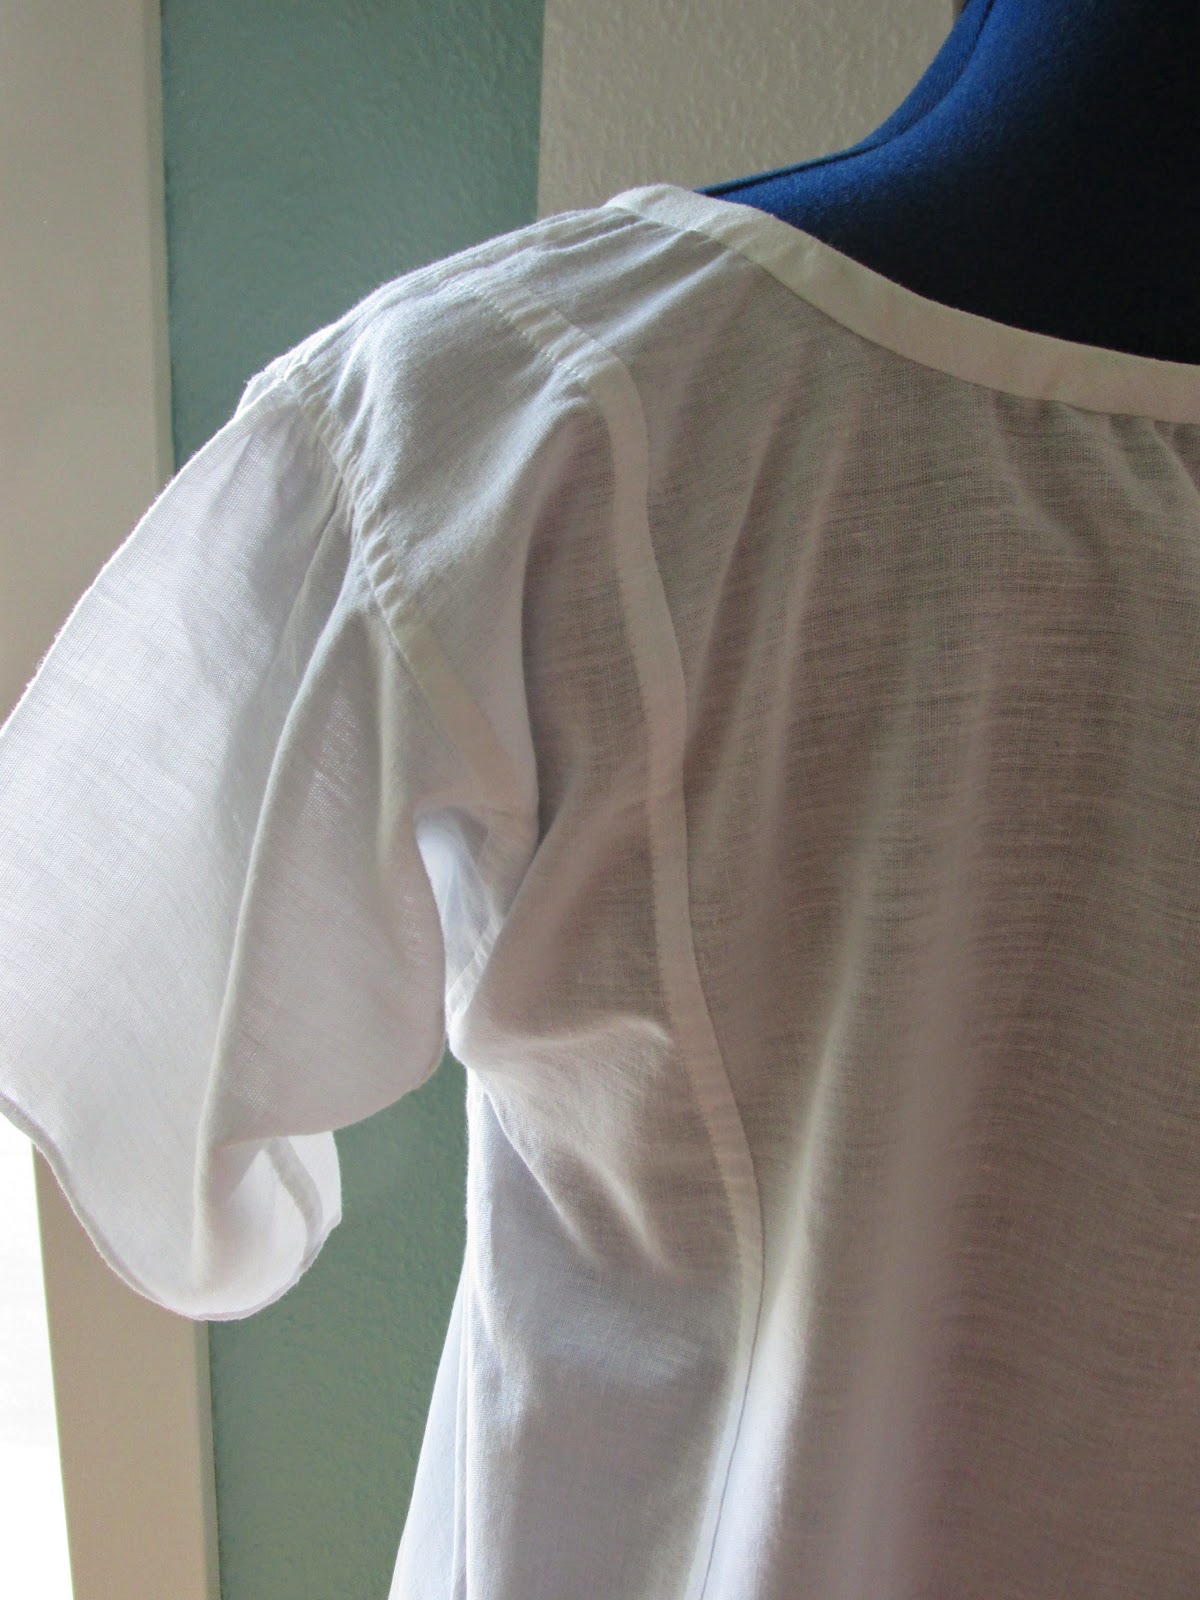
| Sleeve gusset. Flat-felled seams all around :D |
The fit is a little big on me, but otherwise fine. Next time I might just make the smaller size (B) and make the sleeves a bit narrower and perhaps without the gathering.
I sewed most of the chemise on my sewing machine and did the eyelets and finishing of the bias tape by hand. I used the recommended 1,2 cm seam allowance throughout and flat-felled all seams.
It was oddly meditative sewing the (very long) flat-felled seams, and I am happy to have replaced my old chemise with a newer and more lightweight model. Next project: corsets!
The Challenge: Foundations (January 2015)
Item: Regency chemise
Fabric: An old Ikea cotton bedsheet
Pattern: Online tutorial
Year: ca. 1800-1810 but suitable for 1600-1850
Notions: 1 m off-white grosgrain ribbon for drawstring. White polyester thread. Bias tape maker.
How historically accurate is it? 50 %? The fabric, cut and sewing techniques are all fairly accurate, but the "modern" sewing machine wasn't invented until the 1840's.
Hours to complete: about 6 hours of active sewing work spread over a weekend.
First worn: For fittings only. To be worn this summer.
Total cost: All stash and re-cycling materials, so I'm counting it as FREE!

It looks great! Thank you for the link to the tutorial!
ReplyDeleteYou're velcome! and thanks :D
Delete